Creating a Wallet (Vault)
In the world of blockchain, a wallet can mean software that takes care of a user's tokens or even the user's account itself.
Installing Vault
Vault is a prominent wallet application used within the XPLA blockchain! Let's go ahead and install the Vault Chrome Extension, our tool of choice for this adventure.
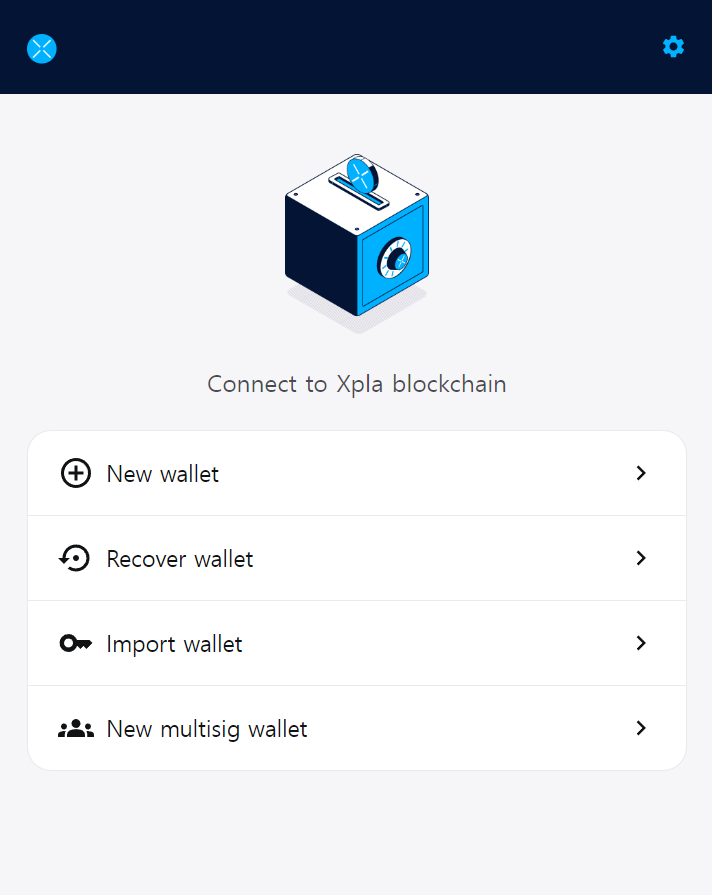
Once you open up Vault as a Chrome Extension, you'll be greeted with a screen like the one below:

Creating a Wallet
Create a Wallet in just a few steps using Vault:
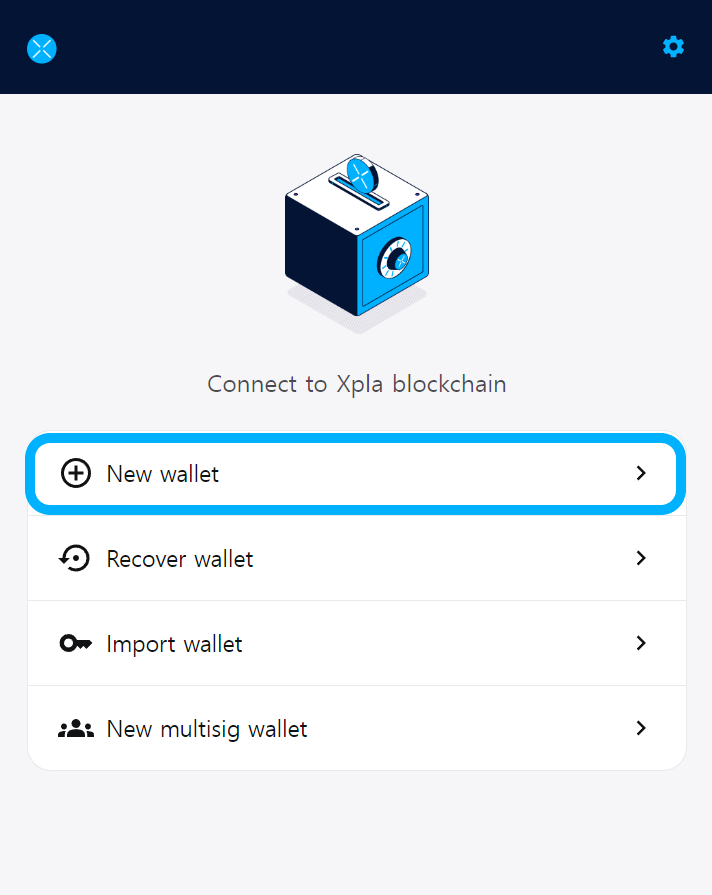
1. Select "New wallet"
Launch Vault and select New wallet.

2. Set up wallet info and securely store the mnemonic
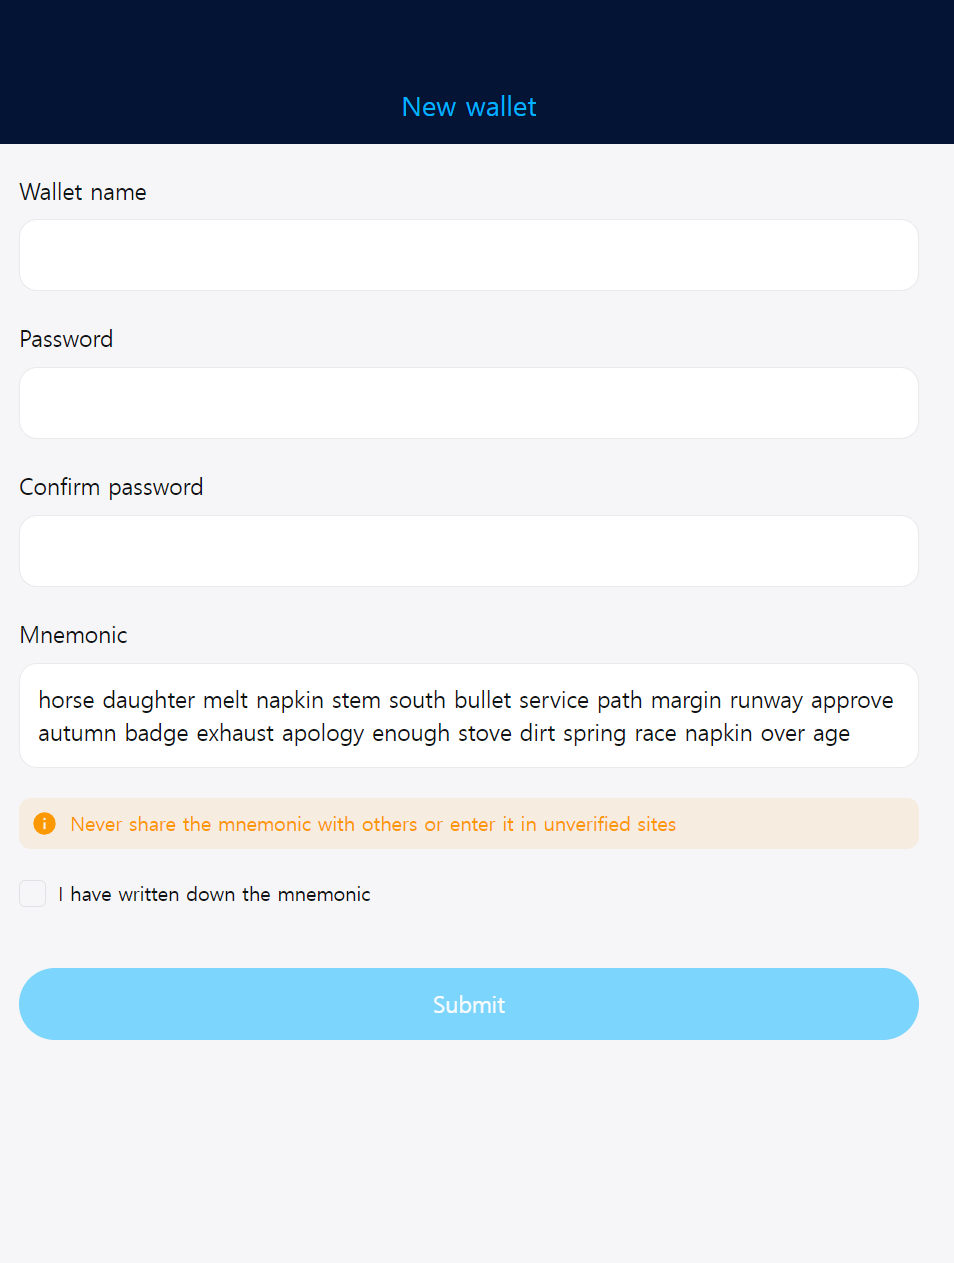
Fill in the wallet's desired name and password, and SECURELY STORE the mnemonic words. (Always keep it safe!!!!)
The mnemonic is crucial for wallet recovery. That means you need to remember your mnemonic to get back into your account.
If anyone knows or steals your Wallet mnemonic, it could lead to a complete loss of your wallet assets, which we definitely want to prevent. Therefore, keep it in a safe place and never disclose it to anyone. (Not even to your favorite cat.)
Then, hit the Submit button.
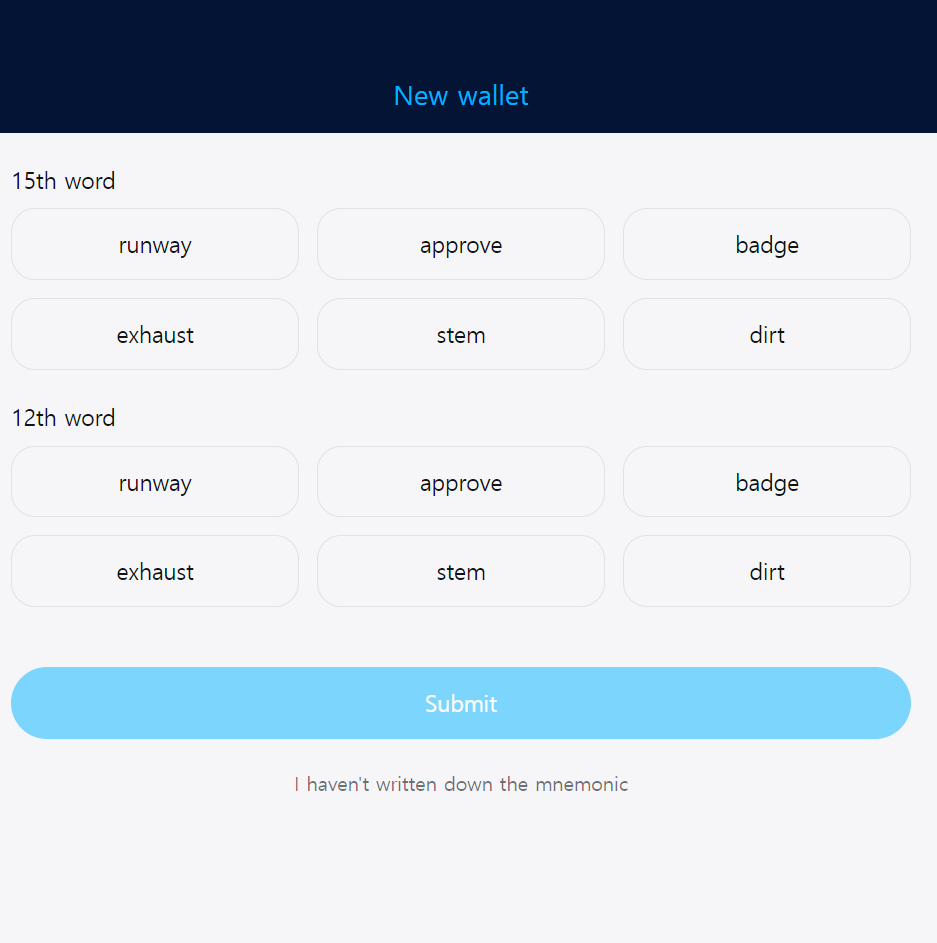
3. Verify the mnemonic
Please use the saved mnemonic and choose the words in the order displayed on the screen.
4. Connect the created wallet to Vault
Ta-da! You just created a Wallet! Select Connect to link the newly generated wallet to Vault, and you're all set.
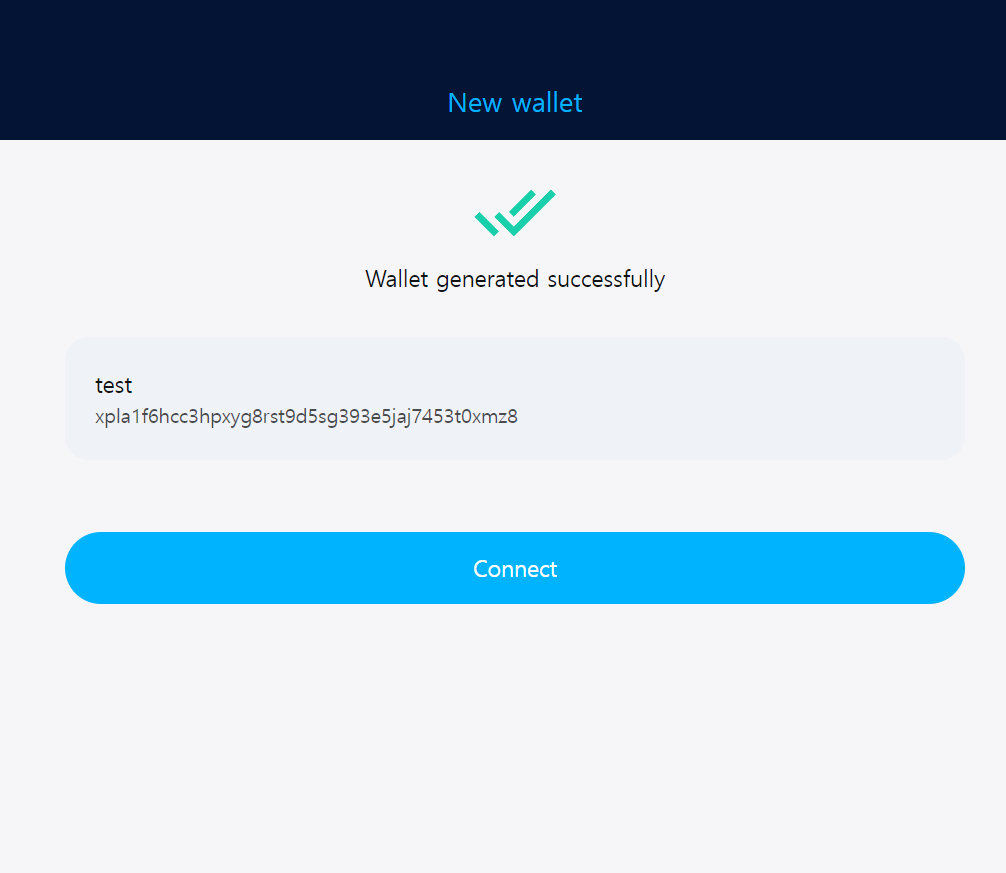
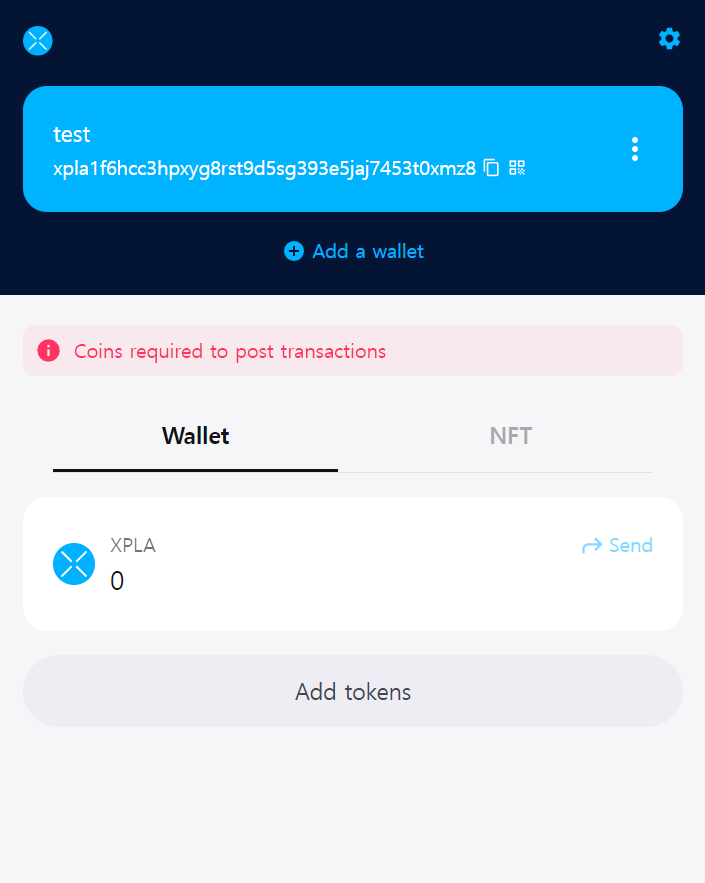
Now you can access your wallet information directly from the Vault Chrome Extension.

