Creating $XPLA Transfer Transactions
The data recorded on the blockchain is referred to as transactions. For instance, creating a transaction where Alice sends 1 XPLA to Bob can be recorded on the blockchain.
When creating a transaction on the XPLA blockchain, you need to pay fees in $XPLA coins. Since you received testnet $XPLA coins in the previous step, there's no need to worry about fees!
Why do we need to pay fees to create transactions on the blockchain?
Let's take a look at an example of how transactions are created and processed on the network. When Alice creates a transaction to send 1 XPLA to Bob, the network is notified (broadcasted) of this transaction. The network needs to verify details like whether Alice has more than 1 XPLA and whether Alice actually initiated the transaction.
Validators play the role of verifying transactions. They check all blockchain data and validate the transactions that will be included in new blocks.
Validators need significant computing resources to continually receive and verify transactions against the entire history of the blockchain. Instead of using computing resources, we request validators to create transactions by paying fees. This is known as the Proof of Stake (PoS) approach.
Furthermore, fees prevent malicious attackers from generating an excessive number of transactions and overwhelming the blockchain network.
Preview
Below is the JavaScript code to create a transaction. Modify the code with your mnemonic words and run it. You'll see the execution result on the right side after a little while.
If you've mastered the Preview Code, you may move on to the next step with out reading the below.
Creating Transactions with JavaScript
In the previous step, you received $XPLA coins from the Faucet wallet. This time, let's create a transaction to send $XPLA coins from our wallet to the Faucet wallet. The amount being sent is 25aXPLA (0.000000000000000025XPLA). Let's run the code.
1018 aXPLA is equivalent to 1 XPLA.
Running the Code
Just like you created the example-1.js file earlier, create a new file called example-2.js.
Copy and paste the code below into the example-2.js file and save it.
const { LCDClient, MsgSend, MnemonicKey } = require("@xpla/xpla.js");

const lcd = new LCDClient({
  chainID: 'cube_47-5',
  URL: 'https://cube-lcd.xpla.dev'
});

async function main() {
  const mk = new MnemonicKey({
    mnemonic: 'myth snow ski simple century dad gun dolphin sail lawsuit fringe image toast betray frown keep harbor flash table prevent isolate panic tag vehicle',
  })

  const from = lcd.wallet(mk).key.accAddress;
  const to = "xpla1a8f3wnn7qwvwdzxkc9w849kfzhrr6gdvy4c8wv"; // Faucet wallet address
  const token = { axpla: 25 };

  const signedTx = await lcd.wallet(mk).createAndSignTx({ // Creating and signing the transaction
    msgs: [new MsgSend(from, to, token)]
  });

  const txResult = await lcd.tx.broadcastSync(signedTx); // Sending transactions to blockchain
  console.log("Your Transaction Hash: " + txResult.txhash);
}
main()Make sure to replace the mnemonic words on line 10 with your own mnemonic words.
Enter the following command in the VSCode Terminal.
node example-2.jsCheck the results in the Terminal. You should be able to see the hash value of the transaction.
What is a hash value?
A hash value is a value obtained by transforming data of various lengths into a fixed-length value. The method of transformation depends on the applied algorithm.
Let's examine an example using the well-known SHA256 algorithm. Even though the lengths of the two input values are different, the hash values are all 64 characters long.
Input :
helloworldHash value :
936A185CAAA266BB9CBE981E9E05CB78CD732B0B3280EB944412BB6F8F8F07AFInput :
xplaHash value :
2AA54B6285BB3FCF0A69452991C15DB65B76313950C4D6EF74E584AA5F0E3286
Hash values have characteristics such as changing significantly with a small change in input, and it's difficult to determine the original input from the hash value.
The transaction we created contains various data such as the height of the block containing the transaction, the time the transaction occurred, and the transaction fee. This data determines the hash value of the transaction.
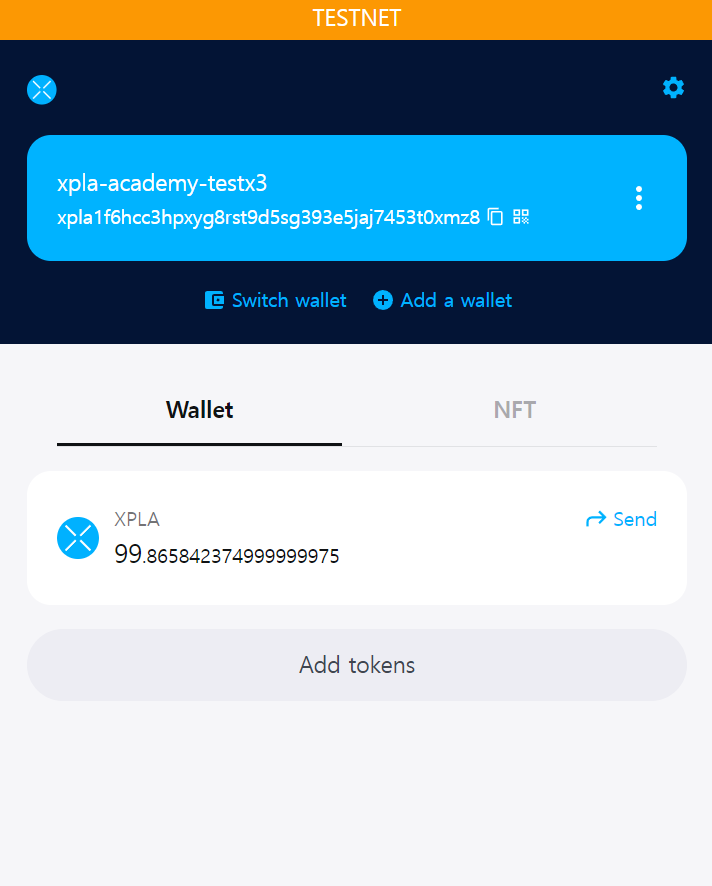
Wallet Check
If you successfully created the transaction, check your balance in the Vault. You'll see a lower amount than the 100 XPLA you received from the Faucet.
This is because you sent 25aXPLA to another wallet and paid a transaction fee.
By seeing that $XPLA coins were spent, you can indirectly confirm that the transaction was successfully created.
Explanation
First, you loaded the wallet using the mnemonic words. You might have used your own mnemonic words to load your wallet.
const mk = new MnemonicKey({
    mnemonic: 'myth snow ski simple century dad gun dolphin sail lawsuit fringe image toast betray frown keep harbor flash table prevent isolate panic tag vehicle',
})
Specify the sending wallet address, receiving wallet address, and token information. We're sending 25aXPLA from our wallet to the Faucet wallet address xpla1a8f3wnn7qwvwdzxkc9w849kfzhrr6gdvy4c8wv.
const from = lcd.wallet(mk).key.accAddress;
const to = "xpla1a8f3wnn7qwvwdzxkc9w849kfzhrr6gdvy4c8wv"; // Faucet wallet address
const token = { axpla: 25 };
We'll use the createAndSignTx function to create a transaction and complete the signing process. You can perform this with the code if you know your mnemonic phrase.
const signedTx = await lcd.wallet(mk).createAndSignTx({ // Creating and signing the transaction
    msgs: [new MsgSend(from, to, token)]
});
What is a signature?
A signature is a way for the owner of a wallet to prove that they created a transaction.
In this step, we created a transaction to send XPLA from our wallet to another wallet. However, it wouldn't be safe if malicious individuals could transfer XPLA from my wallet to another without permission.
This is where a signature comes in. A signature ensures that only the wallet's owner, who knows the mnemonic phrase or private key, can proceed with the transaction. So, it's crucial to securely store your mnemonic phrase, as knowing it would allow others to create signatures and potentially steal funds.
Moreover, a signature carries more significance. It's generated using the transaction's data, and if the transaction's data is changed, the original signature becomes invalid. Therefore, you would need to create a new signature. This prevents unauthorized modification of transaction data.
It's important to note that validators, as mentioned earlier, are the ones that verify whether a transaction's signature is valid.
When we use the broadcastSync function to send the transaction we created to the network, validators will verify the transaction. After verification, if the transaction is added to the blockchain, we can receive the result.
The result is stored in the txResult variable, and from there, we can obtain the hash value.
const txResult = await lcd.tx.broadcastSync(signedTx); // Sending transactions to blockchain
console.log("Your Transaction Hash: " + txResult.txhash);
Wrapping Up
But how can we examine transaction data in more detail? One way is to use the XPLA Explorer, where you can look at all the transaction records of $XPLA. Another method is to directly fetch transaction data values using code.
We will explore each step in the next section.